
Another original cake pop recipe!
And these aren't just any Oreo pops - they're Oreo cake pops. Which means no, it's not just crushed Oreos and cream cheese dipped in white chocolate. It's chocolate cake with Oreo frosting dipped in white chocolate and more Oreos.
You just got awesome'd.
These are rather like those Chocolate Peppermint Cake Pops from way back when, but, you know, Oreo! :D
Enjoy!
These are rather like those Chocolate Peppermint Cake Pops from way back when, but, you know, Oreo! :D
Enjoy!
Chocolate Oreo Cake Pops
REQUIRES SOFTENED BUTTER
REQUIRES ROOM TEMPERATURE EGGS AND MILK
REQUIRES COOLING TIME (1-2 hours/overnight)
REQUIRES CHILLING TIME (3-4 hours/overnight)
Makes 40-60 cake pops, depending on pop size
Chocolate Cake:
2 1/2 cups flour (spooned and leveled)
1 cup unsweetened cocoa powder
1 teaspoon baking soda
2 teaspoons baking powder
1/2 teaspoon salt
2 sticks butter, softened
2 cups sugar
3 eggs, room temperature
1 teaspoon vanilla
1 1/2 cups milk, room temperature
- Preheat oven to 350 degrees F. Grease and flour a 9x13-inch cake pan.
- In a large bowl, whisk flour, cocoa, baking soda, baking powder, and salt. Set aside.
- In another large bowl, cream butter and sugar until light and fluffy. Add eggs one at a time, mixing until just combined and scraping down the sights of the bowl after each addition. Add vanilla and mix well.
- Add flour mixture a third at a time, alternating with milk in two additions: flour, milk, flour, milk, flour.
- Spread batter evenly into prepared pan. Bake 35-40 minutes or until a toothpick inserted in the center comes out clean.
- Let cake cool completely (overnight works best) before crumbling.
Oreo Frosting:
1 1/2 sticks butter, softened
1 teaspoon vanilla
3 cups powdered sugar
1-2 teaspoons milk, if needed
3/4 cup crushed Oreos (there should still be chunks!)
- In a large bowl, beat together softened butter and vanilla until combined.
- Mix in powdered sugar, one cup at a time, stirring well after each addition.
- Add milk if necessary to make the frosting more creamy.
- Add crushed Oreos and stir gently.
Assembly:
1 cup FINELY crushed Oreos
1-2 bags Target white chips
40-60 lollipop sticks
Oil
Styrofoam block with holes for pops
- Crumble the cake into a large bowl. Add frosting and stir gently with a wooden spoon until the mixture is fairly even.
- Form into cake balls. Place balls on a cookie sheet covered with wax paper and cover with plastic wrap. Refrigerate overnight or until firm.
- Place crushed Oreos in a wide and shallow bowl.
- Place a metal bowl over a saucepan of water and heat; make sure the water doesn't touch the other side of the bowl. Drop in a few white chips - when they have melted you are ready to begin.
- Pour a small amount of oil in the bottom of the bowl and pour in some white chips. Let melt and stir smooth. TURN OFF THE HEAT.
- Dip lollipop sticks into melted white chips and then press into cake balls. Refrigerate while you dip the rest of the sticks.
- Dip pops completely in melted white chocolate, brushing off excess with a toothpick. Immediately roll in finely crushed Oreos and stand in styrofoam block. Make finished cake pops one at a time - white chocolate will set up quickly.
- Continue dipping and rolling. If more white chocolate is needed, turn on heat, add more oil, and add more chips. Turn off heat once it has melted and continue to dip.
- Let pops harden completely before taking them anywhere or serving them. They may be refrigerated, tightly covered, for up to 3 days, and frozen, tightly covered, for about 2 weeks.
So, let's break it down:
Make that beautiful chocolate cake.

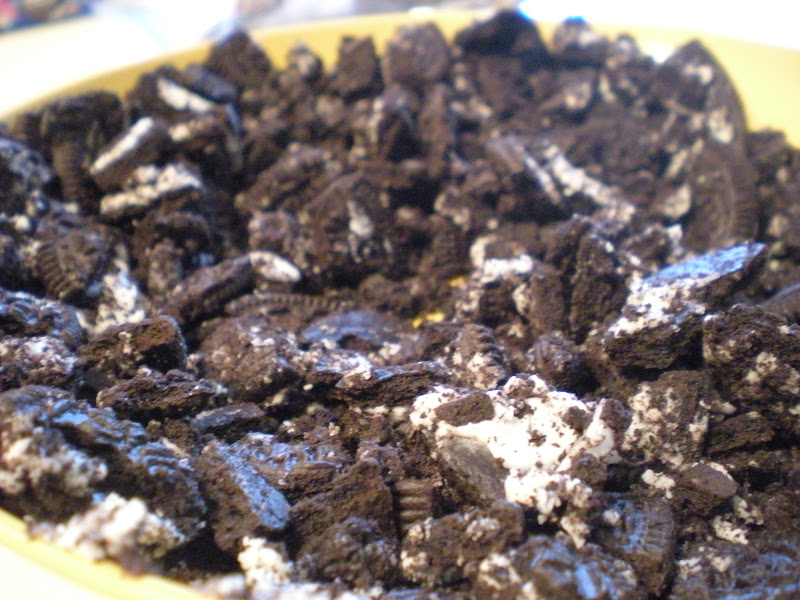
Crush your Oreos! You'll want chunks for the frosting, and finely crushed Oreos for rolling the cake pops.

Add Oreo chunks/crumbs...


Then just dip, roll, and let harden! Enjoy these!

-JJ

No comments:
Post a Comment