Showing posts with label Hershey's. Show all posts

Saturday, September 8, 2012

House Cake Pops


Talk about a housewarming gift!


Original recipes for the win! :3

And yes, I did bring these to my friend's new home.  She moved away :( but I still keep in touch with her.

Anyhoo, if you knew me, you'd know that I jump at every chance to make cake pops.  Every chance - whether it be Christmas, St. Patrick's Day, or for my own parties.

And here are the results of another chance: house cake pops.

Okay, yeah, they do look like birdhouses.  They look a lot like birdhouses - because they're on sticks.  I hadn't thought of that before I'd already dipped all of the pops.  But, whatever.  If you try making these, you could just make them house cake balls and stick them in green/floral/whatever mini cupcake wrappers.

I am quite proud of these, actually.  I do declare my cake pop making and decorating skills are improving.  I probably messed up only one of these.  And then promptly ate it.

In case you're new to the cake pop making world, then I'll post the actual yellow cake and vanilla frosting recipes I use.  They are my go-to recipes, and work wonderfully - figures, they're from Bakerella!

True, they're both included in my cupcakes post, but now, in future cake pop posts, I can just link back here! ^_^

Now, without further ado, I will present you with the original recipe - and then go into a fairly detailed breakdown:

House Cake Pops
REQUIRES SOFTENED BUTTER
REQUIRES ROOM TEMPERATURE EGGS AND MILK
REQUIRES COOLING TIME (1-2 hours/overnight)
REQUIRES CHILLING TIME (3-4 hours/overnight)

Makes 40 cake pops

Cake:
3 cups flour
2 teaspoons baking powder
1/2 teaspoon salt
2 sticks unsalted butter, softened
2 cups sugar
4 eggs, room temperature
2 teaspoons vanilla
1 cup milk, room temperature
  1. Preheat oven to 350 degrees F. and grease a 9x13 inch pan.
  2. In a large bowl, whisk together flour, baking powder, and salt.
  3. In a separate large bowl, cream softened butter and sugar.  Add eggs, one at a time, stirring well after each addition.  Add vanilla and combine.
  4. Alternatively add flour mixture and milk, in this order: 1/3 flour mixture, 1/2 milk, flour, milk, flour.
  5. Spread into prepared pan and bake 35-40 minutes or until a toothpick inserted in the center comes out clean.  Let cool completely - this often takes overnight.
Frosting:
1 1/2 sticks butter, softened
1 teaspoon vanilla
3 cups powdered sugar
1-2 teaspoons milk, if needed
  1. In a large bowl, beat together softened butter and vanilla until combined.
  2. Mix in powdered sugar, one cup at a time, stirring well after each addition.
  3. Add milk if necessary to make the frosting more creamy.
Assembly:
10 full graham cracker sheets
1 Hershey's milk chocolate bar
1-2 bags Target white chips
40 lollipop sticks
Oil
Styrofoam block with holes for pops
  1. If there are any brown edges to your cake, cut them off.  Then crumble the remaining yellow cake into a large bowl.  Add frosting and stir gently with a wooden spoon until the mixture is fairly even.
  2. Form into 40 cake cubes, method demonstrated here.  Use remaining mixture to create 40 triangular prisms, pictured below.  Place triangular prisms on cubes, pressing slightly.  Place house cubes on a cookie sheet covered with wax paper and cover with plastic wrap.  Refrigerate overnight or until firm.
  3. Break graham cracker sheets into four sections, and break each section in half.
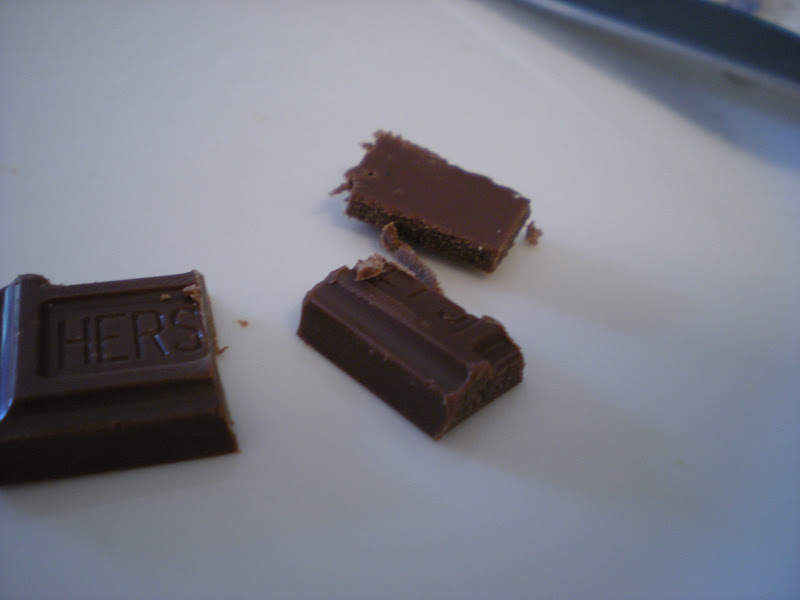
  4. Take 10 sections of a Hershey bar and cut into four pieces.
  5. Place a metal bowl over a saucepan of water and heat; make sure the water doesn't touch the other side of the bowl.  Drop in a few white chips - when they have melted you are ready to begin.
  6. Pour a small amount of oil in the bottom of the bowl and pour in some white chips.  Let melt and stir smooth.  TURN OFF THE HEAT.
  7. Dip lollipop sticks into melted white chips and then into the bottoms of the house cubes.  Refrigerate while you dip the rest of the sticks.
  8. Dip pops completely in melted white chocolate, brushing off excess with a toothpick.  Immediately stand in styrofoam block and add 2 graham cracker pieces to the roof and 1 Hershey's piece as a door.  Make finished cake pops one at a time - white chocolate will set up quickly.
  9. Continue dipping and decorating.  If more white chocolate is needed, turn on heat, add more oil, and add more chips.  Turn off heat once it has melted and continue to dip.
  10. Let pops harden completely before taking them anywhere or serving them.  They may be refrigerated, tightly covered, for up to 3 days, and frozen, tightly covered, for about 2 weeks.
Breaking it down:
So your house cubes will look like this.  You need the little prism-thingies so that the graham cracker roofs can go on easily.  They're pretty easy to form, but it did take me a few tries to get it right.  Just try to make them look like this:
And here are your graham cracker roofs.  IMPORTANT TIP: With your fingernail, try indenting where you want to break the graham cracker fourths in half.  They'll break much easier and you won't have to scrap (or eat xD) as many graham crackers that way.  You want 80 of these by the time you're done.
Now, on to the Hershey's bar.  Just cut the sections with a table knife.
In half...
And then in fourths - long ways.  So NOT like [][][][].  Those doors are too skinny then!  In half vertical, and then in half horizontal.
And make 40 of those.
Then dip your pops.  If you need help dipping, see my dice cake pops post.
Don't they look adorable when they're done!?
And if you want to make a display - I used styrofoam, green tissue paper, and black duct tape.  The other decorations are foam shapes glued on or toothpicked.
Have fun making these!
-JJ

Wednesday, April 4, 2012

Mini Kisses Butter Pecan Bars

I'mmmmm baaaaack!

And soon there will be several pictures of my vacation.  Unfortunately, I don't have a waterproof camera, so I couldn't take any undersea pix... :'(  But I have several nice ones and perhaps a few Look Up pictures, as well!

In the meantime, I didn't even last a whole day before I had to bake something.  Sure, I had one week of really good food and the generally crappy airport fare, but I just couldn't take it any longer.  I had to bake.  Preferably something chocolate.

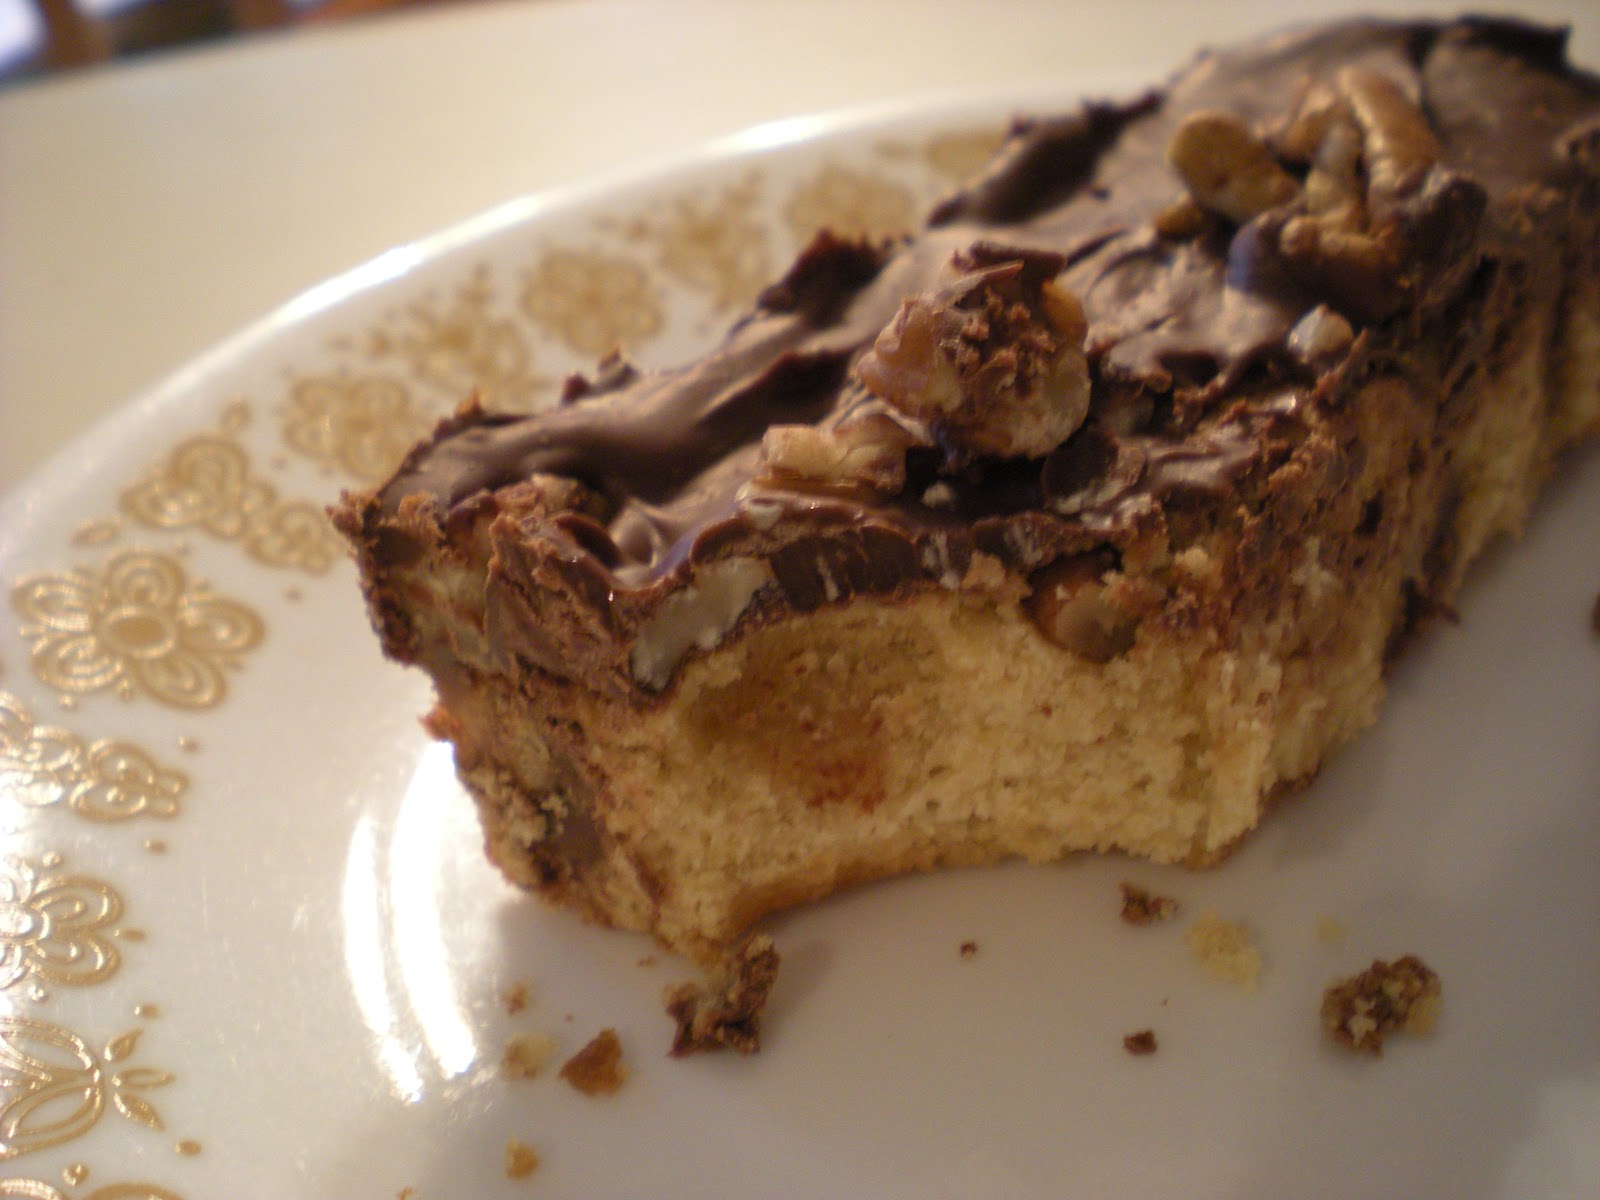
So, considering I had a bunch of pecans and some Mini Hershey's Kisses lying around, I found the perfect recipe to use those up and satisfy my baking and chocolate cravings: Mini Kisses Butter Pecan Bars.


Mini Kisses Butter Pecan Bars
REQUIRES SOFTENED BUTTER

1 stick butter, softened
1/2 cup packed light brown sugar
1 egg
1 teaspoon vanilla
3/4 cup flour
10-oz. pkg. (1 3/4 cups) Mini Hershey's Kisses (or any other milk chocolate chip), divided
3/4 cup coarsely chopped pecans, divided

  1. Preheat oven to 350 degrees F.  Grease 8-inch square baking pan or use nonstick pan.
  2. Beat butter in a medium bowl until creamy.  Beat in brown sugar.  Add egg and vanilla.  Beat in flour.
  3. Stir in 3/4 cup Kisses/chips and 1/4 cup pecans.  Spread evenly into pan.
  4. Bake 25 to 30 minutes (25 recommended) or until lightly browned; remove from oven.
  5. Immediately sprinkle remaining 1 cup chocolates over top.  Let stand 5 minutes or until chips/Kisses soften.  Spread with spatula or knife.
  6. Sprinkle remaining 1/2 cup pecans over top; press in gently with your fingers.
  7. Cool completely in pan on wire rack, then cut into bars, 6 by 2.  12 bars.
Breaking it down:
Beat butter, then beat in sugar...
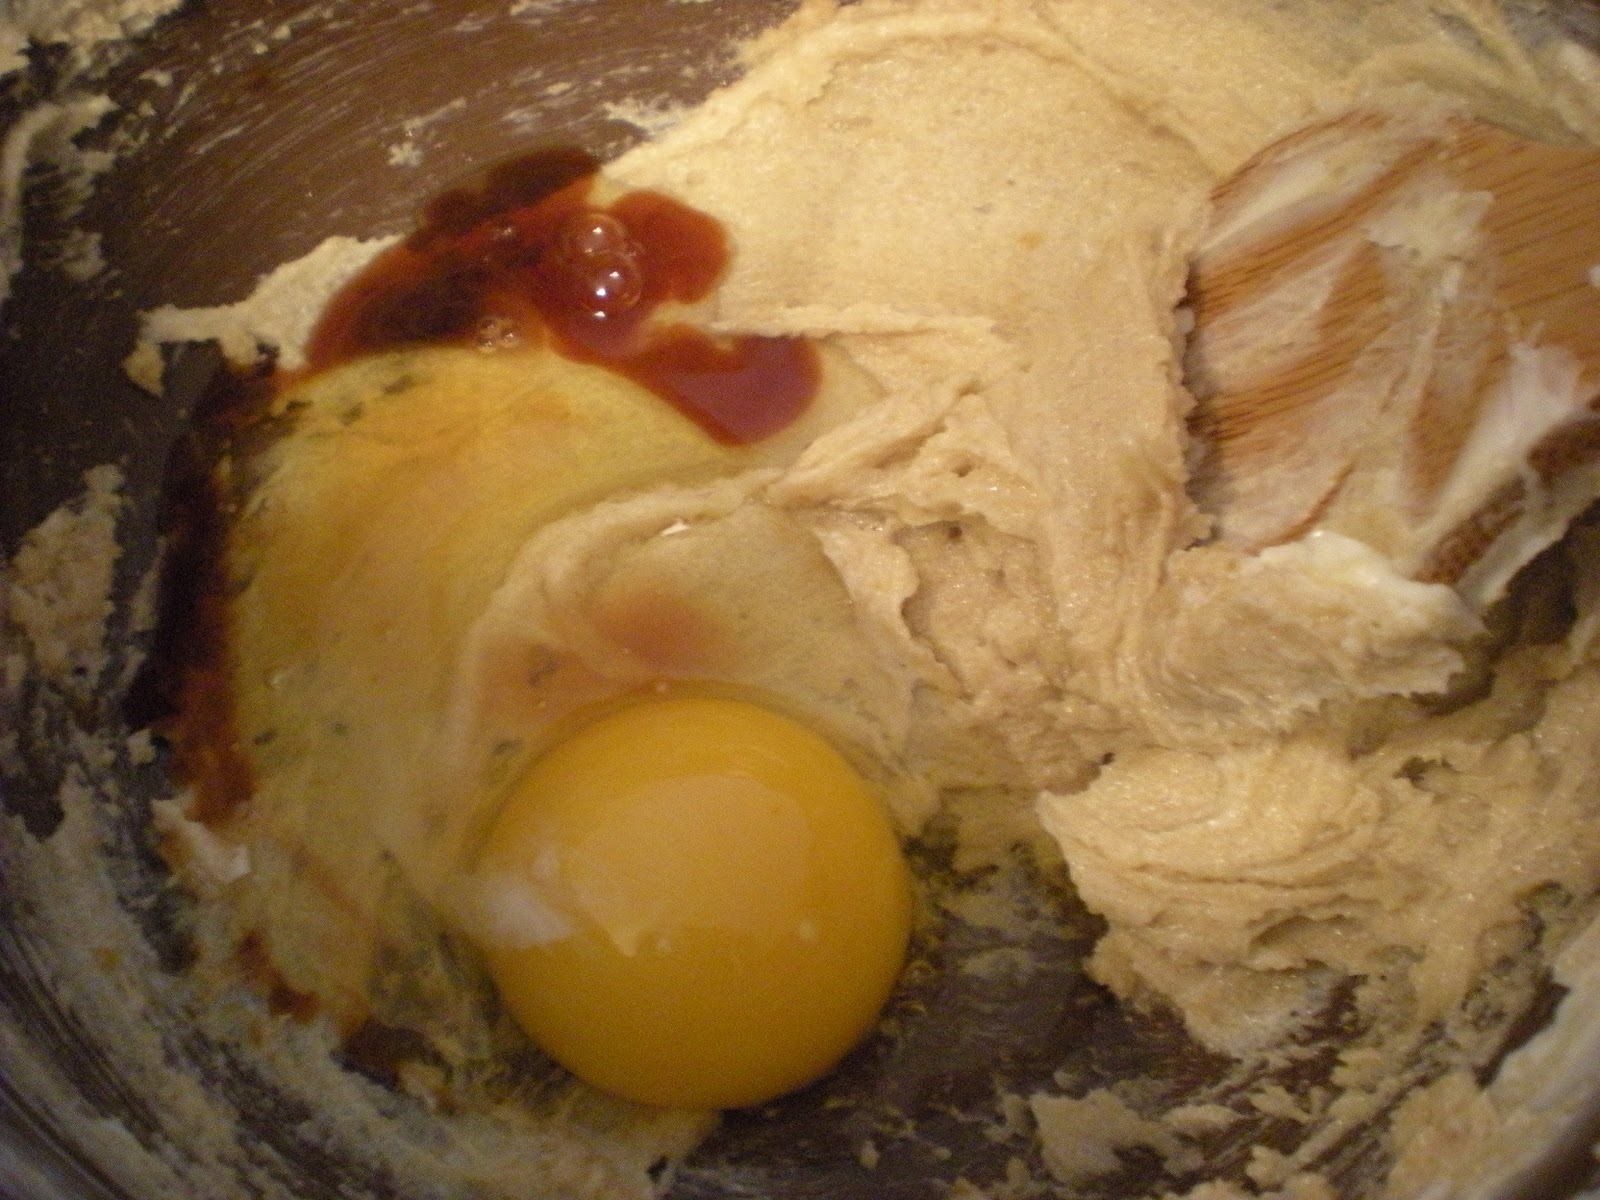
Add egg and vanilla and mix well...
Beat in flour...
Add Kisses...
...and stir.  Stir in pecans and spread evenly in an 8x8 baking pan...
Bake for 25 minutes.
Sprinkle with 1 cup Kisses...
Let it sit for 5 minutes and then spread the molten Kisses with a spatula...
Sprinkle on pecans and press them into the chocolate with your fingers.
Let cool completely and cut into long, thin bars.
Enjoy!
-JJ

Saturday, February 25, 2012

Hershey's Kisses + Marshmallows = Chocolate Mousse


I found a recipe for chocolate mousse on the back of the Valentine's Day bag of Hershey's Kisses.  Since I had lots of leftover mini marshmallows for hot chocolate on cold (or not-so-cold) winter days, I decided to make a half batch and give it away as a late Valentine's Day gift.

My impression of the mousse is this: it's relatively easy to make, but probably not worth it.  Still, I'm posting it anyway, so give it a go and you might like it more than I did!

Hershey's Kiss Chocolate Mousse
36 Hershey's Chocolate Kisses
1 1/2 cups mini marshmallows
1/3 cup milk
1/4 teaspoon almond extract
1 cup (1/2 pint) whipping cream
Additional Kisses to garnish
  1. Combine marshmallows with milk in a saucepan over low heat.  Stir constantly until marshmallows are melted and mixture is smooth, then remove from heat.
  2. Pour 1/3 cup marshmallow mixture into medium bowl and stir in almond extract.  Set aside.
  3. Unwrap Kisses.  Add Kisses to remaining marshmallow mixture and return to low heat.  Stir constantly until the mixture is smooth.  Remove from heat and cool to room temperature.
  4. Beat whipping cream in another small bowl until stiff.  Fold 1 cup whipping cream into chocolate mixture.  Fold remaining whipping cream into reserved marshmallow mixture.
  5. Pour chocolate mixture into 4 glasses/bowls.  Spoon marshmallow mixture on top.  Garnish with extra Kisses if desired.  Refrigerate 3-4 hours.  Makes 4 servings.
Remember, I halved this recipe, so your mousse will look different.  Let's break it down:

Combine marshmallows with milk on the stove...
Stir until smooth.
Combine 1/3 of the marshmallow mixture with almond extract.
Unwrap Kisses...
Add to marshmallow mixture...
And combine over heat until smooth.
Remove from heat.  As that cools, beat whipping cream until stiff...
Fold one cup into the chocolate mixture.  Then fold the rest into the marshmallow mixture.
Pour chocolate mixture into desired containers, top with marshmallow mixture, and plunk an extra Kiss on top to look pretty! :)
Have a lovely day!
-JJ

Wednesday, January 25, 2012

NY Times Chocolate Chip Cookies


Being the late lemming that I am, I hadn't made the New York Times Chocolate Chip Cookies until, oh, mid-October.  And being the lazy blogger that I am, I'm posting it now.  In January.  Oops! XD

So.  These are supposed to be the best chocolate chip cookies on the planet - and I gotta say, they come pretty close, considering they're not made out of chocolate chips at all.  Instead, they use discs of chocolate and loads of wacky ingredients, like cake flour.

I had all the ingredients, somehow, except for perhaps the most important part - the chocolate discs.  60% cacao.  If you're like me, and you shy away from any chocolate that could possibly be considered bittersweet or extra-dark, you will, no doubt, pick up a bag of Hershey's Drops and say, "Oh, this'll do."

It won't.

Not kidding.

Of course these cookies were ah-mazing, but they were overly sweet, and, never having had Hershey's Drops before, I found the chocolate... disgusting, actually.  And yet, the cookies were still fantastic.  That's how good the dough is.  Really.


So, NEVER make these cookies with Hershey's Drops.  They don't melt and they are way too sweet.  (And that's saying something, coming from the major chocoholic who thinks "sweet" is a food group.)  Instead, you could actually try following the recipe, or, like I plan to do the next time I bake these, experiment with semisweet chocolate chunks.  Obviously, it won't be the same as the original recipe - which I should also try - but maybe I'll get lucky! :)

The recipe can be found here.


lotsa noms
-JJ
Related Posts Plugin for WordPress, Blogger...